 |
My white bread loaf using a poolish. The rise was incredible! The taste even better! |
I probably make a loaf of bread at least every other week (my recipe is here: Kitchen Bounty: Daily Bread use as a guide for how to shape bread before baking). Quick-rising yeast makes it quite easy. If I start in the a.m., it's done by noon. But one thing I don't like about quick-rise yeast is its insipid or "un-yeasty" taste. I want more. To make it stronger and more pronounced, I allow an extra rise of the dough before shaping it into a loaf. This allows time for the yeast to do its thing.
I've considered sourdough recipes, but I really don't want to mess with starters--all that feeding, etc. I'm a procrastinator by nature. That's when I began to read about making a poolish (poo-leesh). It easily solved the taste problem I desired.
Simply put, a poolish is a combination of bread flour, water and yeast. It's mixed the night before and covered. In the morning, it's all bubbly and elastic.
I've considered sourdough recipes, but I really don't want to mess with starters--all that feeding, etc. I'm a procrastinator by nature. That's when I began to read about making a poolish (poo-leesh). It easily solved the taste problem I desired.
Simply put, a poolish is a combination of bread flour, water and yeast. It's mixed the night before and covered. In the morning, it's all bubbly and elastic.

From that, you form your bread dough. It has a great aroma with just a hint of sourness that is not overbearing.
Because I use my bread primarily for morning toast and sandwiches, I do not free-form my dough. I put it in a loaf pan. I have beautiful black metal pans just for bread, but I find myself using my glass Pyrex loaf pan more and more (try finding an older one, they are expensive!). It allows the sides to bake into a light golden color without being overly crisp. For the loaf pictured, I placed a pan of hot water in the bottom of the oven, but it made the top too crisp for me.
Because I use my bread primarily for morning toast and sandwiches, I do not free-form my dough. I put it in a loaf pan. I have beautiful black metal pans just for bread, but I find myself using my glass Pyrex loaf pan more and more (try finding an older one, they are expensive!). It allows the sides to bake into a light golden color without being overly crisp. For the loaf pictured, I placed a pan of hot water in the bottom of the oven, but it made the top too crisp for me.
Poolish
Prepare the night before:
- 10 oz. water (about 1 cup, + 3 tablespoons)
- 10 oz. bread flour (2 cups)
- 1-2 tablespoons liquid fat (melted butter, shortening, lard; I used olive oil)
- 1-2 tablespoons sugar (I always use honey but you can use white or brown sugar)
- 1/4 teaspoon quick rise yeast from packet. Save the rest of the packet.
Using a whisk, blend all ingredients in a heavy bowl until smooth. Cover firmly with cling film. Poke a hole in the center using your finger (so the yeast can breathe) and place in a warm area. I place on the top of my refrigerator. Notice that no salt is added. Salt and yeast do not get along at first. They need to be introduced gradually ...
In the morning, you should have a wonderful bubbling mass. If you lower your ear to it, you will actually hear the fermentation. (If you have children about, ask them to listen. It's akin to listening to conch shells for the echo of the ocean.)
At this stage, some recipes call for adding more water, but that only gives you more "holes" in your bread. I'm not interested in bread that won't hold butter and jam, so I skip it.
In the morning, you should have a wonderful bubbling mass. If you lower your ear to it, you will actually hear the fermentation. (If you have children about, ask them to listen. It's akin to listening to conch shells for the echo of the ocean.)
At this stage, some recipes call for adding more water, but that only gives you more "holes" in your bread. I'm not interested in bread that won't hold butter and jam, so I skip it.
- To the poolish, add one room-temperature, beaten egg yolk. This is entirely optional, but I have learned the yolk will give a more tender crumb. Do NOT add the entire egg since the white has an adverse effect on both the rise and texture of the bread! Sprinkle the rest of the packaged quick-rise yeast over it and gently stir.
- Remove the mass to a floured surface and begin kneading in 2 more cups of bread flour. Now that the yeast has been allowed to do its thing, introduce 1-2 teaspoons of salt until an elastic bread ball forms and no longer sticks to the surface. You have to decide on what kind of salt determined by the size of the crystals. Ordinary table salt has smaller crystals, so use the lesser amount. Use that as your guide.
Gently deflate (some recipes call for "punching." Never "punch" anything!) and give a second rise which usually takes less time than the first ... so keep your eye on it.
Grease your bread pan. I prefer lard or tallow, even Crisco. Form into a loaf (see above for Daily Bread instructions).
Place into greased pan and allow to rise to the top. Slash down the center for a classic look with a razor blade or very sharp knife and bake in a 350 F oven for 30-40 minutes or until it registers 200F on a quick-read thermometer.
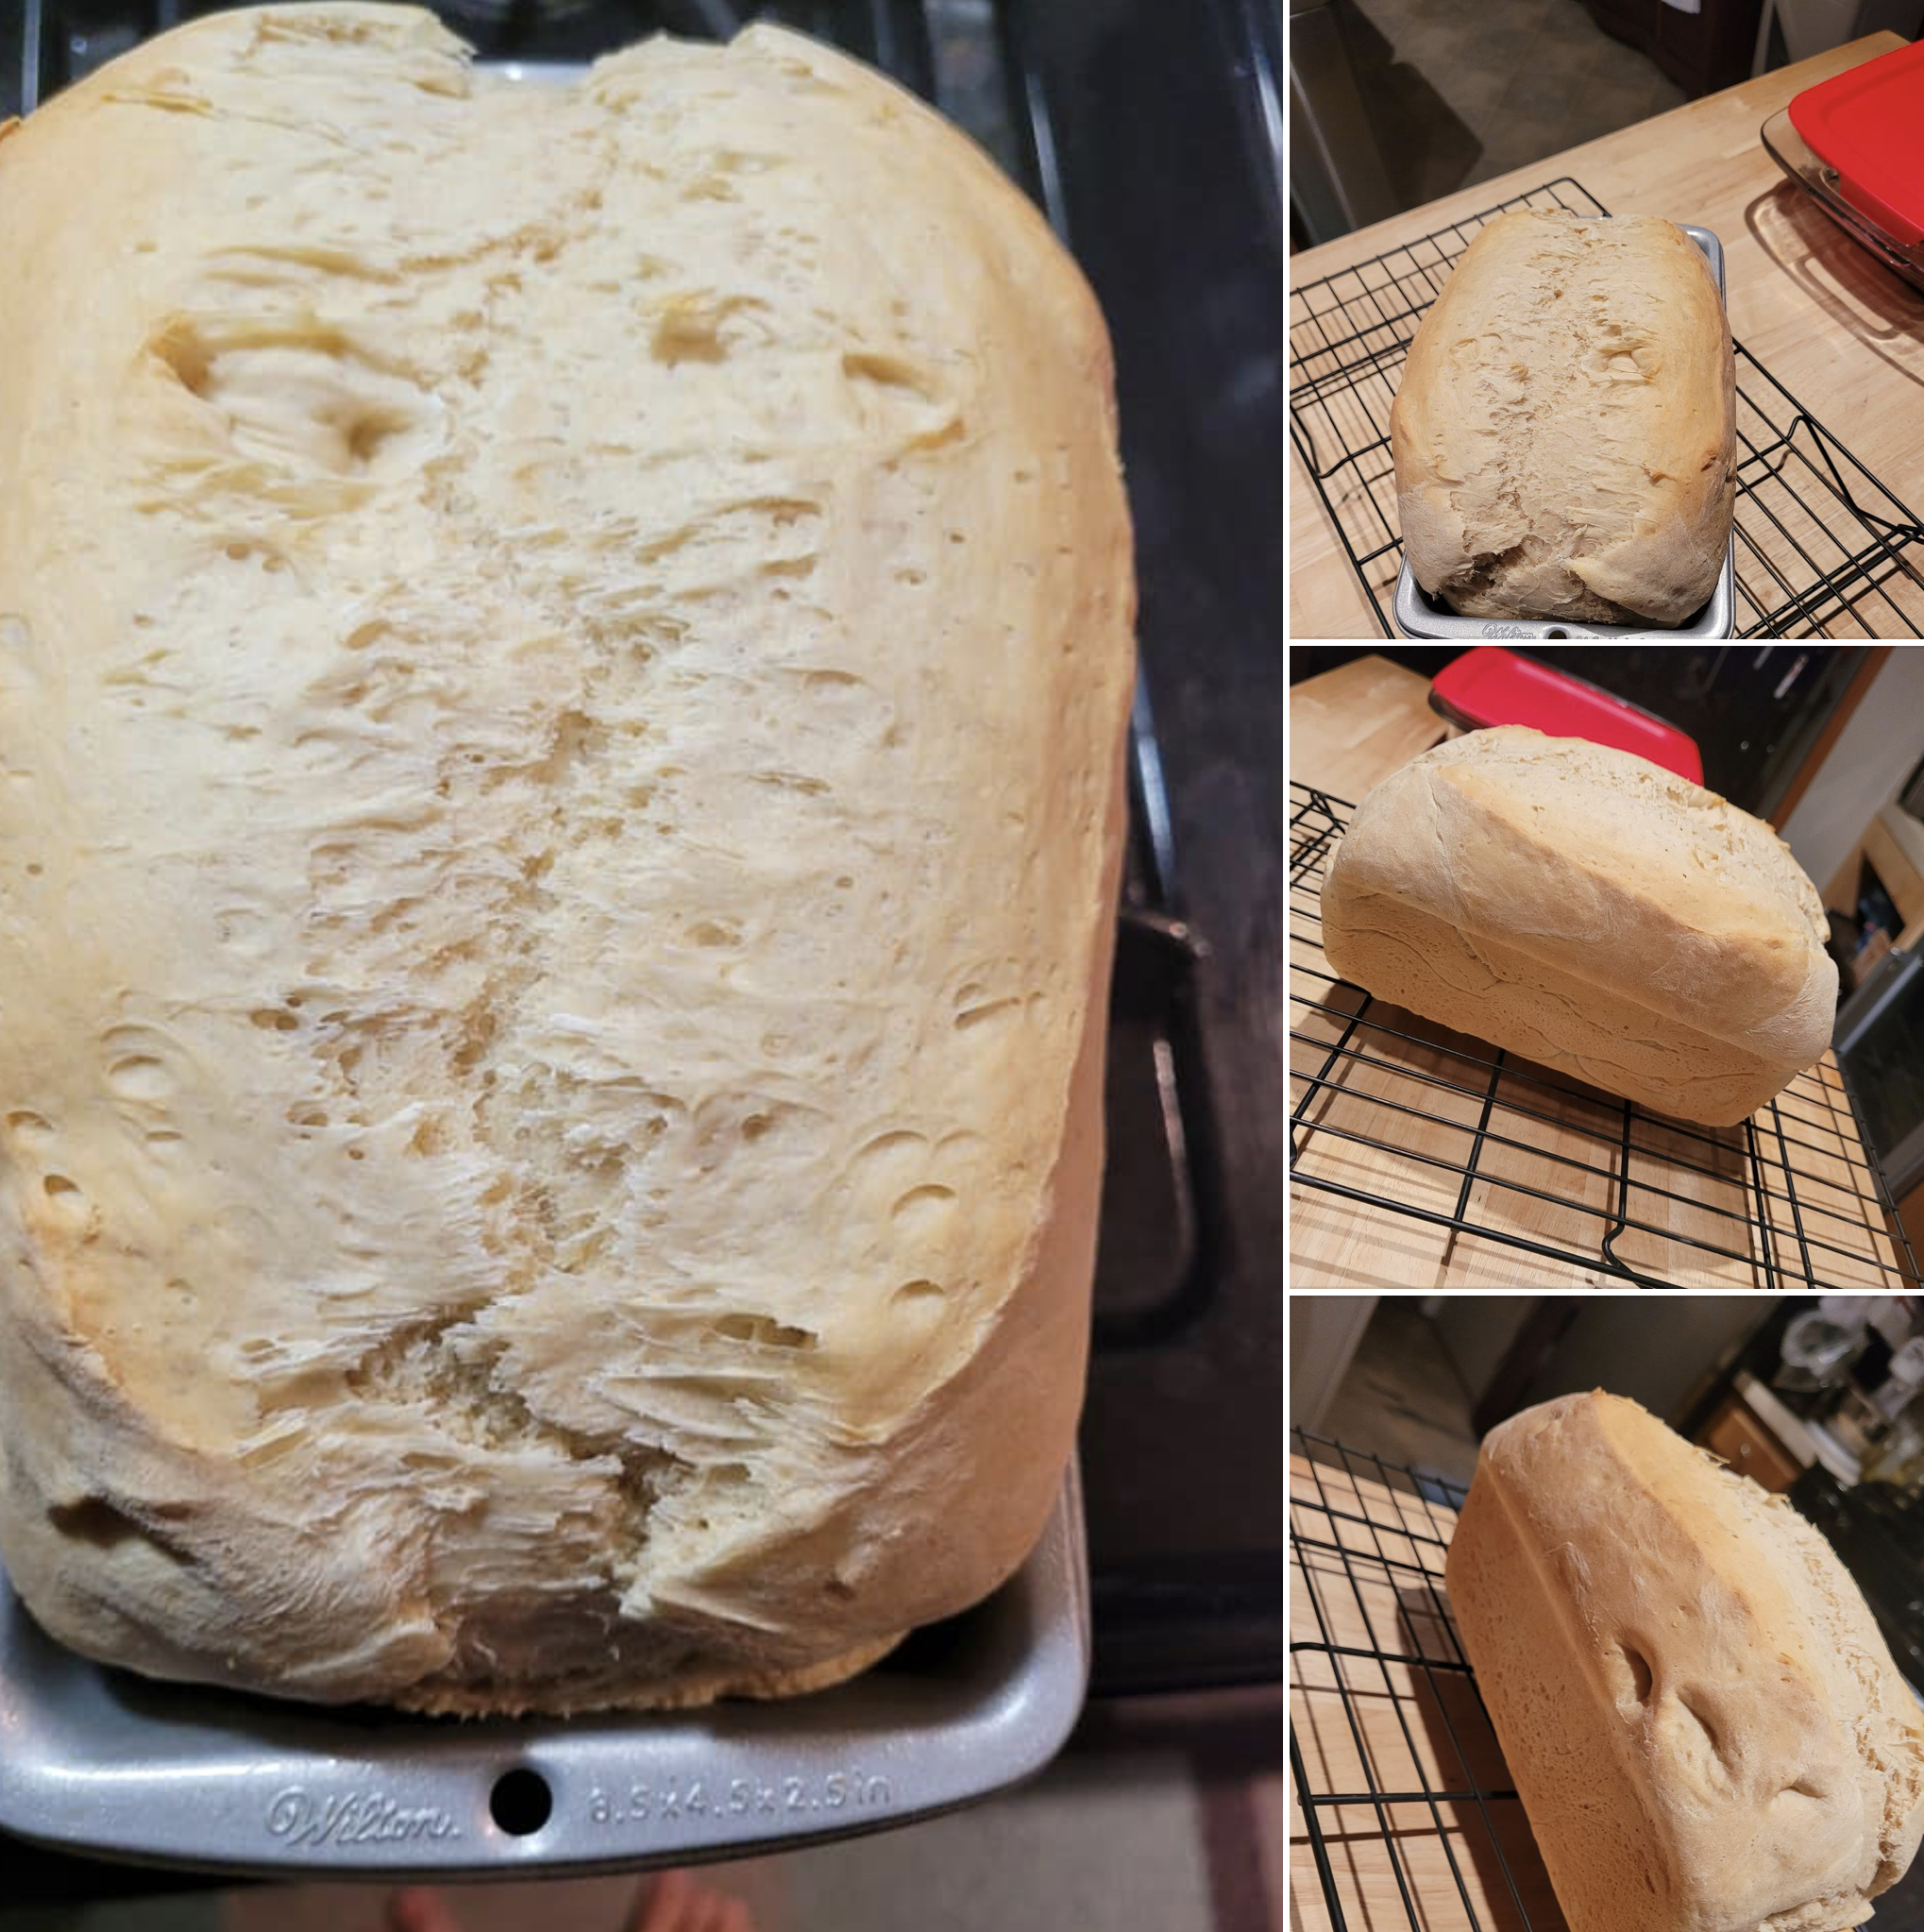
One of my viewers sent me these beautiful photographs of her bread using this recipe and technique. She couldn't stop making loaves ... Thanks, Michelle!
 |
| My favorite breakfast, especially with homemade jams. |
Notes: olive oil will produce a softer dough than shortening. Bread slices best the following day and allows thinner slices. Never cut bread just out of the oven. Allow it to cool or the steam will escape producing a dry texture. Also, never cut off both ends or "heels" even though people may beg for those cuts; it makes cutting the rest of the loaf difficult if not impossible.
A note on yeast: I use Fleishman's Quick Rise. In the North, yeast is always found in the refrigerated dairy section. Where I'm at in the South it is found in the baking section, so I always double-check the expiration date and I store unused yeast in the freezer. My favorite yeast is the old-fashioned "cake yeast." It gives the best flavor, but it is almost impossible to find.
A note on yeast: I use Fleishman's Quick Rise. In the North, yeast is always found in the refrigerated dairy section. Where I'm at in the South it is found in the baking section, so I always double-check the expiration date and I store unused yeast in the freezer. My favorite yeast is the old-fashioned "cake yeast." It gives the best flavor, but it is almost impossible to find.
Here is 93-year-old Clara making bread as she remembers her mother did from the Great Depression. Fascinating technique.
Keep your stale bread. Until I saw this video, I always threw away stale bread. Not anymore. If you have children, sub the water for warm milk, and use a sprinkle of sugar instead of salt. A whiff of cinnamon is nice, too.




