Saturday, December 23, 2023

Peanut Butter Pie with Chocolate Ganache Topping

If you are ever stumped for a quick-but-welcomed dessert, look no further than peanut butter pie. Appreciated by children and adults (men love it!), it pushes all the bells and whistles from flavor to texture to looks. And there is really no serious baking involved. 

This version is from Richard Sax' incredible dessert-Bible of a cookbook, Classic Home Desserts. I have not made anything I didn't like from this cookbook. I admire and brag on his recipe for Quick-Apple-Cake, a favorite of Kitchen Bounty readers. 

This special-occasion pie is easy to prepare ahead of time. Simply refrigerate until needed. Just a warning: likely there will be no leftovers and people will want the recipe! While the graham-cracker crust is traditional, try the more popular chocolate-cookie crust. Or one from crushed animal crackers. Or just use a pre-baked pie crust of your favorite recipe.

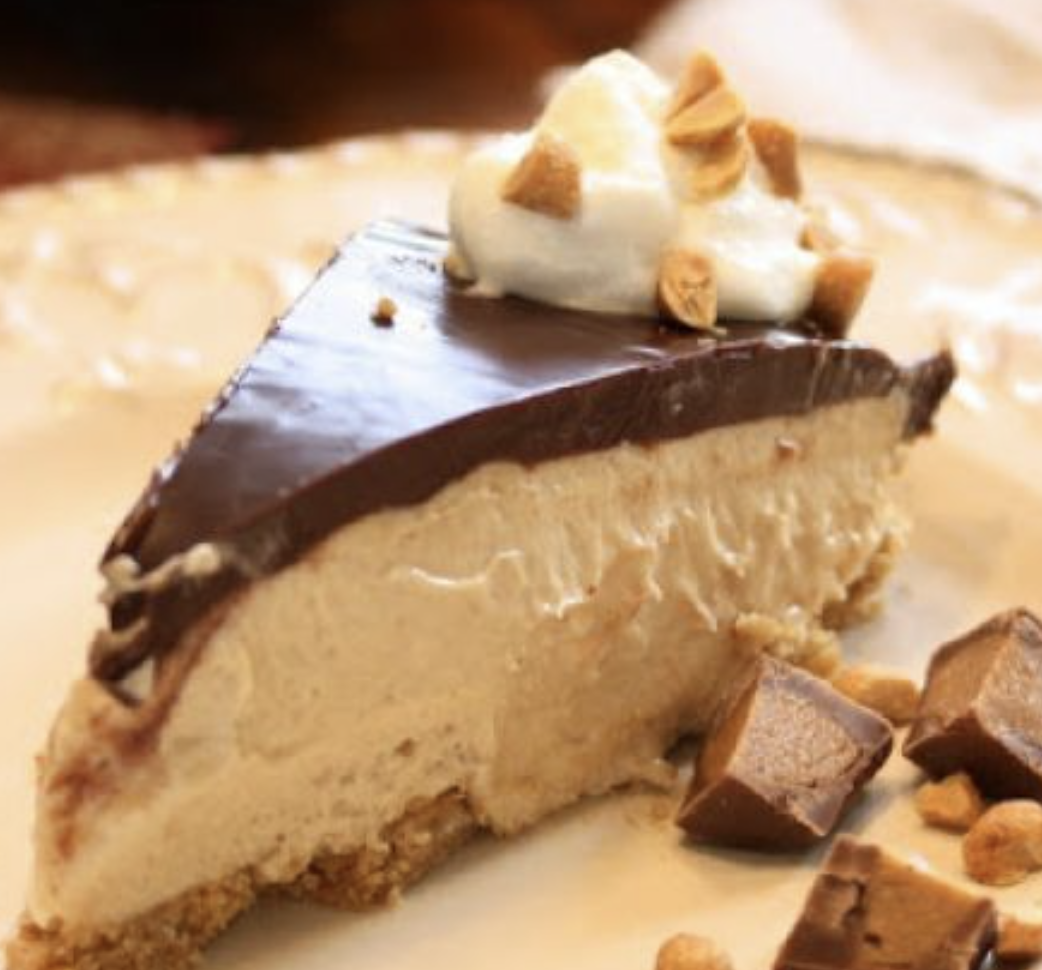
This is a fun pie to dress up for holiday themes! Without make-up, it is still a knock-out-looking pie. But feel free to embellish and dress it up with chocolate curls, broken candy peanut butter cups, chocolate malt balls, whipped cream puffs, candy canes for Christmas, colored Easter eggs for Easter, pumpkins for Halloween  . . . Make an impression! Make it yours for a date to remember! 

From dining room table and fine china to picnic table and paper plates, a slice of this pie is always a winner anywhere it is served!

Makes one 9-inch pie; serves about 8

Crust

  • 1 cup graham crack crumbs (about 15 individual crackers)
  • 1/4 cup sugar
  • 1/4 cup (1/2 stick) unsalted butter, cut into pieces, softened

Filling

  • 8 ounces cream cheese, softened
  • 1 cup creamy peanut butter (do not use old fashioned or freshly ground)
  • 1 cup confectioner sugar
  • 2 tablespoons butter, softened
  • 1 tablespoon pure vanilla extract
  • 1/2 cup heavy cream, well chilled
  • Topping

  • 1/2 cup heavy cream
  • 6 ounces semisweet chocolate, chopped
     1. Crust: Preheat oven to 350 F. In a medium bowl, combine cracker crumbs, sugar, butter until well blended.  Press evenly into a lightly-buttered pie pan or plate, reaching up the rim, but not over the top of it. Bake until lightly browned, about 10 minutes. Remove. Cool on wire rack.

    2. Filling: Beat cream cheese and peanut butter on medium speed until well blended. Add confectioner sugar, vanilla and beat until fluffy.

Whip the cream until not quite stiff. Fold a large spoonful into the peanut butter mixture to lighten it; gently fold in the remainder. Carefully spoon the filling into the cooled crust, spreading evenly. Loosely cover the pie and refrigerate until firm, about 3 hours. 

    3. Topping: Bring the cream to a simmer in a small heavy saucepan--just until you see tiny bubbles form on the side of the pan. Do not  boil! Add chocolate and stir until thick and smooth. Set aside to cool to lukewarm. Gently spread the topping over the cooled pie. Decorate, if desired. Refrigerate until firm. 

This pie can be made 1 day ahead; cover it loosely with wax paper or plastic wrap (a cover if your pan has one) and refrigerate. (I place the pie on a plate and then turn a large-enough bowl upside down to cover it. For perfect cuts, dip knife into warm water per slice.)

NOTE: This is an expensive cookbook, but I got mine used, in mint condition, on-line for about six bucks. 


Wednesday, December 13, 2023

How to Make the Absolute Best Baked Potatoes + Video

Never did I ever think I needed instructions how to make a baked potato. 

Last night I scored a T-bone steak marked own eight bucks! I wanted a really good, classic baked potato to go with it. That's when I remembered this recipe from America's Test Kitchen.

Let me just tell you that it was the BEST baked potato I ever had. I'm not kidding. It was not at all gummy or overdone at the ends. The skin was not "slippery" or like wet chewy leather. Instead, the inside was dry and FLUFFY! The potato released easily from the skin. And, oh that skin--it was crackling! You will not be disappointed!

No more nuked potatoes for me. No more wrapping in tin foil. 

This is when it pays to have a countertop oven. I have a compact Breville convection oven. In fact, I never even use my conventional oven. It is storage for pots and pans. I baked mine on the "roast" setting at precisely 450 F degrees.

You will need an instant-read thermometer. A scale helps, too, but is not absolutely necessary.

A little green never hurt. I always try to keep both chives
and parsley going through the winter. If not available, use
some celery leaves. Of course, without guests, who cares?

This recipe calls for four, 9- to 10-ounce Russet potatoes. Choose the nicest you can find. I like to be sure the ends are rounded not tapered. You want Russets for their thick skin. Save the thin-skinned Yukon Golds for mashing. I halved the brine since I only made two. Next time, I'm not sure I will dispose the brine when done; instead, I will save for upcoming week. Why not?
  • 4 Russet potatoes, 7-9 ounces each (if you don't have a scale, weigh them at the market). Choose unblemished, non-bruised with few "eyes" and uniform in shape and size so they all cook evenly at the same time. 
  • 2 tablespoons salt. I used Kosher.
  • 1/2 cup water
  • Vegetable oil (I used olive oil), about 1 tablespoon. Next time I will use bacon fat.

Scrub potatoes well. Using a fork or the tip of a sharp paring knife, lightly prick each potato all around--about a half-dozen times.

Roll in the salt brine. Remove to a rack to dry.

Place on a rack in oven (I used a simple rack I placed on top of oven rack) and roast until the internal temperature reaches 205 F degrees, about 45-60 minutes.

Carefully remove and brush with oil. Return to oven to bake an additional ten minutes.

Remove. Cut an "X" into each skin. Lightly push ends toward center. I have individual earthen, oval-baked bowls I put mine into. For those who love the skin ... you may want to serve with a side of Kosher salt for dipping.

These are Mason and Cash bowls from England. Martha Stewart made them
popular here in the States. They are getting more and more difficult to find.
If you spot them in a thrift store, grab them. They have so many uses.


I have not tried the goat-cheese topping in the video below. I enjoy a ton of butter, salt, pepper, thick sour cream and chives.