Sunday, March 17, 2013

Pork Roast with Apples and Root Vegetables


My grocer stocks wonderful pork roasts that weigh less than 2 pounds. They are meant for crock pots and slow cookers. But I roast them.

Don't be put off by the Mediterranean seasonings of lemon and fennel. Nothing complements a pork roast as these two flavors. Neither is overpowering; together, they are a hit.

These small pork roasts are "netted" to keep the meat together in a cylindrical shape and usually have just enough fat to keep them moist. 

Feel free to use other roots, such as parsnips or carrots. 


  • 1, 1.5 lb. rolled pork roast
  • 1/4 teaspoon fennel seed, crushed
  • lemon zest from 1/2 lemon
  • 1 large rutabaga
  • 1 sweet potato
  • 1 large crisp apple such as Braeburn, Jazz, Honey Crisp, Granny Smith*
  • Lawrey's Seasoned Salt--a few shakes
  • 1 teaspoon Kosher salt
  • Garlic powder, several good sprinkles on top, bottom and sides of roast
  • 1 good teaspoon dried onion flakes, crushed to a powder (or 1/2 teaspoon onion powder)
  • 10 unpeeled, raw garlic cloves (optional)
  • 1 strip bacon, cut in half (optional)
  • Fresh rosemary
  • Dried, whole thyme


Sprinkle the roast with the dried ingredients. I usually do this over the pan I am going to roast it in. I roll the roast in the seasonings that fall to the bottom of the pan to pick up as much as possible. Grate the lemon on top of the pork roast. Pat in. Give a light drizzle of olive oil to the roast and rub in all over. Sprinkle top with Kosher salt. The salt will give a nice crust to the roast.


Just peel and chop into chunks.


Peel raw rutabaga with a sharp knife, removing waxy outer layer and stem and root parts. Cut into one-inch chunks. Peel raw apple. Cut in half. Using a melon baller, remove the center seeds and stem and blossom ends. Cut each half into four sections. Peel raw sweet potato and cut into one-inch chunks.

Remove rutabaga, apples, sweet potato and, if using, garlic cloves to a small bowl. Drizzle with olive oil to coat. Sprinkle with a bit of dried, crushed thyme leaves, a bit of Kosher salt and pepper.

I like to roast meat on a rack so heat surrounds the entire cut of mean. If you don't have a small rack, you can easily make one using tin foil and coiling it like this:


Center pork in a roasting pan. Surround it in a single layer with the root vegetables keeping the apples closer to the pork and the rutabagas to the outside of the pan. Strip the leaves off of a rosemary stem. Mince them. Sprinkle over the rutabaga and apple mixture.

If using bacon, place strips over the pork roast. 

For this pork roast, I only used rutabagas and apples. Boring.

For this pork roast, I went all out. I added sweet potato for color. One strip of bacon cut in half
for added flavor, garlic cloves and one extra sprig of rosemary. Beautiful!


Roast for 10-15 minutes at 420 degrees. Lower temp to 150 and roast for about 20 minutes. Remove from oven and, if desired, stir in about one tablespoon butter and stir around the apples and roots. Return to oven until instant-read thermometer in the thickest part of the roast registers about 145 F degrees. Remove. Tent with foil and allow to rest at least 15-20 minutes. Remove pork roast and cut off netting. Thinly slice. Serve with apples and roots and a drizzle of the sauce.

Of course, the cook gets to eat the bacon!


*Because the apple is not as dense as the roots it will cook faster. As such, cut into thick slices rather than chunks



Saturday, March 9, 2013

Traditional Irish Soda Bread ....


March is that time of year when all things turn Irish. Even Easter, if it arrives early!

Food, such as this, once had a purpose. A real purpose. It was meant for sopping into hearty stews to mop up rich gravy; dipping into bacon grease after frying eggs and bacon; soaking into soups. The dense, interior texture with the crisp, chewy, outer crust, deliciously withstood such gastronomical rigors and acrobatics. Try doing any of the above with a simple piece of white bread...and it just falls apart.

Since Irish soda bread only uses four ingredients, it was simple to quickly assemble and to  have ready for supper.

Refined, soft, white flour was not a staple of Irish homesteads 150 years ago. Their flour was coarsely ground with flecks of bran. Even back then, "the white stuff" was reserved for the wealthy.

The following recipe uses bread flour with a higher concentration of glutens and less "silkiness" of white flour which will make your bread crumble as you cut it. To achieve the "coarseness," I added one cup of rye flour.


It's important not to overwork your dough. Don't worry if some of the flour remains in the bowl. Do not add any sweetener, such as brown sugar, white sugar, honey. You want the earthy grain tones in the forefront.

Some recipes call for flouring a non-greased pan before baking. Don't. There's nothing worse than the flavor of burnt flour. Use a sheet of parchment paper.

This loaf will produce a tender-chewy outer crust and hearty interior. DO NOT, under any circumstances, attempt to cut this or any loaf of bread while it is hot from the oven. Once removed from the oven, it's important for the bread to "steam." Cutting it, releases that steam which results in a dry loaf.

Even one-day old and wrapped in cling-wrap, the bread will retain a toned-down crispy crust. It makes for wonderful sandwiches.


  • 2 1/2 cups bread flour mixed with 1 cup rye flour for a total of 16 ounces*
  • 3/4 teaspoon baking soda
  • scant 1/4 teaspoon baking powder
  • 1 teaspoon all-purpose salt
  • 1 3/4 cup buttermilk (be sure to shake it before using) plus 1-2 tablespoons set aside


You will need a LARGE bowl for the mixing.

Place dry ingredients in a bowl. Using your hand, whisk your fingers through the flour to incorporate salt and soda.

Make a well in the center and pour in the buttermilk.

Make your hand into a "claw" with outstretched fingers and begin mixing in a circular motion from the center to the outside of the bowl. Yes, it's messy. This should take no more than 15 seconds or so. If necessary add another tablespoon or two of buttermilk.

Tip the dough onto a flour-covered board. Begin shaping by cupping the mound of dough between your palms as you turn turn turn on the board to form a soft ball. Tuck under any loose ends.

Gently pat the ball to form into a seven-inch circle. You want a disk about 1 1/2 - 2 inches thick. Place disk on a parchment-paper baking sheet. Brush with additional buttermilk.

It is traditional to "bless" the bread by cutting a cross into it about 1/2 inch deep. Make a slash in each quadrant to allow "the evil fairies to escape" so the bread has a nice rise as it bakes.


Place in center of a 450 F degree oven and bake for 15 minutes. Lower heat to 400 and continue to bake another 15-20 minutes.

Turn over bread and continue to bake another 5-10 minutes or until it sounds hollow when tapped.

The underside.

Remove from oven and place on a wire rack to cool. When cool enough to handle, cut the loaf in half and then begin slicing from the heel.


*Or 2 1/2 cups all-purpose flour and 1 cup whole-wheat flour or rye flour for a total of 16 ounces.


"Americanized" Irish soda breads are sweet with the addition of sugar, eggs and dried fruit. That recipe can be found here: Kitchen Bounty: Irish Soda Bread.


Monday, February 25, 2013

Making Bread Using a POOLISH


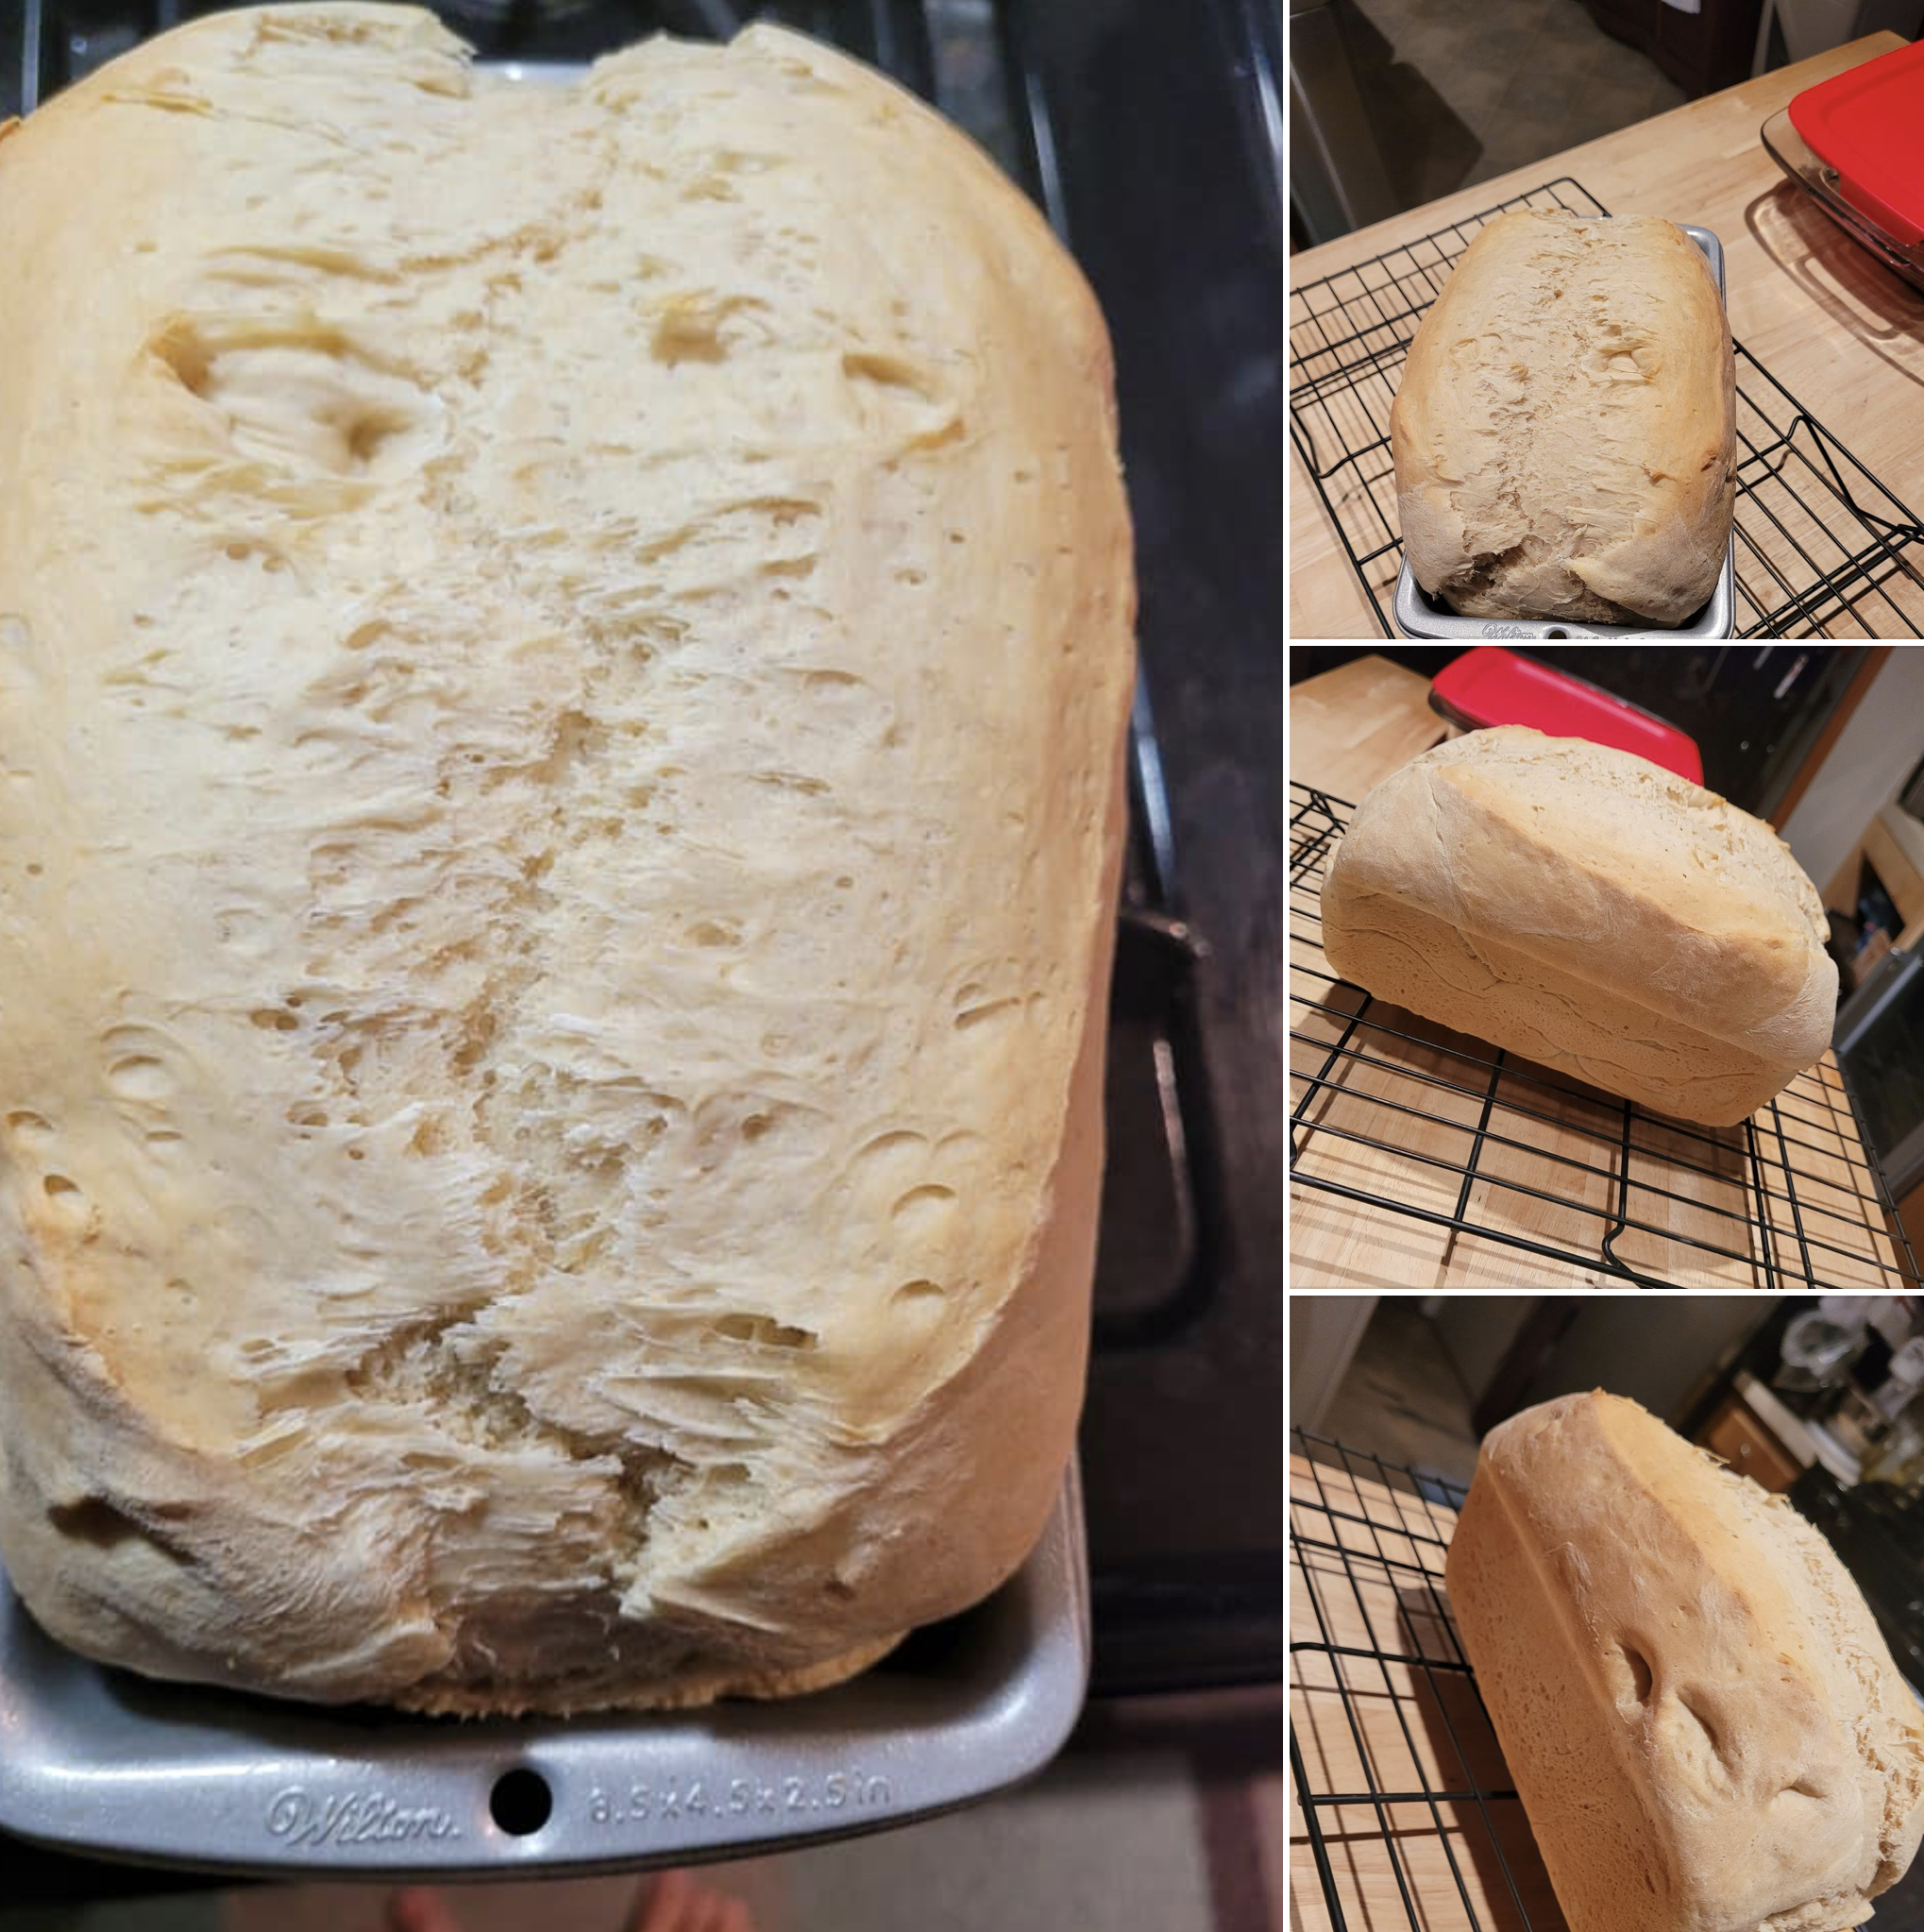
 My white bread loaf using a poolish. The rise was incredible! The taste even better!


I probably make a loaf of bread at least every other week (my recipe is here: Kitchen Bounty: Daily Bread use as a guide for how to shape bread before baking). Quick-rising yeast makes it quite easy. If I start in the a.m., it's done by noon. But one thing I don't like about quick-rise yeast is its insipid or "un-yeasty" taste. I want more. To make it stronger and more pronounced, I allow an extra rise of the dough before shaping it into a loaf.  This allows time for the yeast to do its thing.

I've considered sourdough recipes, but I really don't want to mess with starters--all that feeding, etc. I'm a procrastinator by nature. That's when I began to read about making a poolish (poo-leesh). It easily solved the taste problem I desired.

Simply put, a poolish is a combination of bread flour, water and yeast. It's mixed the night before and covered. In the morning, it's all bubbly and elastic.


From that, you form your bread dough. It has a great aroma with just a hint of sourness that is not overbearing.

Because I use my bread primarily for morning toast and sandwiches, I do not free-form my dough. I put it in a loaf pan. I have beautiful black metal pans just for bread, but I find myself using my glass Pyrex loaf pan more and more (try finding an older one, they are expensive!). It allows the sides to bake into a light golden color without being overly crisp. For the loaf pictured, I placed a pan of hot water in the bottom of the oven, but it made the top too crisp for me.

Poolish
Prepare the night before: 
  • 10 oz. water (about 1 cup, + 3 tablespoons)
  • 10 oz. bread flour (2 cups)
  • 1-2 tablespoons liquid fat (melted butter, shortening, lard; I used olive oil)
  • 1-2 tablespoons sugar (I always use honey but you can use white or brown sugar)
  • 1/4 teaspoon quick rise yeast from packet. Save the rest of the packet. 
Using a whisk, blend all ingredients in a heavy bowl until smooth. Cover firmly with cling film. Poke a hole in the center using your finger (so the yeast can breathe) and place in a warm area. I place on the top of my refrigerator. Notice that no salt is added. Salt and yeast do not get along at first. They need to be introduced gradually ... 

In the morning, you should have a wonderful bubbling mass. If you lower your ear to it, you will actually hear the fermentation. (If you have children about, ask them to listen. It's akin to listening to conch shells for the echo of the ocean.)

At this stage, some recipes call for adding more water, but that only gives you more "holes" in your bread. I'm not interested in bread that won't hold butter and jam, so I skip it.
  • To the poolish, add one room-temperature, beaten egg yolk. This is entirely optional, but I have learned the yolk will give a more tender crumb. Do NOT add the entire egg since the white has an adverse effect on both the rise and texture of the bread! Sprinkle the rest of the packaged quick-rise yeast over it and gently stir.
  • Remove the mass to a floured surface and begin kneading in 2 more cups of bread flour. Now that the yeast has been allowed to do its thing, introduce 1-2 teaspoons of salt until an elastic bread ball forms and no longer sticks to the surface. You have to decide on what kind of salt determined by the size of the  crystals. Ordinary table salt has smaller crystals, so use the lesser amount. Use that as your guide.
Place in a greased bowl (I use olive oil) and allow to double. It won't take long ... check after 30 minutes.

Gently deflate (some recipes call for "punching." Never "punch" anything!) and give a second rise which usually takes less time than the first ... so keep your eye on it.

Grease your bread pan. I prefer lard or tallow, even Crisco. Form into a loaf (see above for Daily Bread instructions).

Place into greased pan and allow to rise to the top. Slash down the center for a classic look with a razor blade or very sharp knife and bake in a 350 F oven for 30-40 minutes or until it registers 200F on a quick-read thermometer. 

One of my viewers sent me these beautiful photographs of her bread using this recipe and technique. She couldn't stop making loaves ... Thanks, Michelle! 


My favorite breakfast, especially with homemade jams.


Notes: olive oil will produce a softer dough than shortening.  Bread slices best the following day and allows thinner slices. Never cut bread just out of the oven. Allow it to cool or the steam will escape producing a dry texture. Also, never cut off both ends or "heels" even though people may beg for those cuts; it makes cutting the rest of the loaf difficult if not impossible.

A note on yeast: I use Fleishman's Quick Rise. In the North, yeast is always found in the refrigerated dairy section. Where I'm at in the South it is found in the baking section, so I always double-check the expiration date and I store unused yeast in the freezer. My favorite yeast is the old-fashioned "cake yeast." It gives the best flavor, but it is almost impossible to find. 

Here is 93-year-old Clara making bread as she remembers her mother did from the Great Depression. Fascinating technique.


Keep your stale bread. Until I saw this video, I always threw away stale bread. Not anymore. If you have children, sub the water for warm milk, and use a sprinkle of sugar instead of salt. A whiff of cinnamon is nice, too. 


Thursday, February 7, 2013

Chicken Legs with Dry Spices and Lard


This is the perfect kind of recipe you want when you don't have much time in the kitchen, but you want something warm and satisfying. Most likely, you already have the spices in your kitchen.

Everyone should keep some lard. It keeps for quite a long time in the refrigerator and, in many ways, is better than butter or margarine.

This package of five chicken legs was less than three dollars. But I can't figure out why they are not packaged six. I like to think two legs per chicken and that no one's leg travelled afar . . .


  • 1/2 teaspoon garlic powder
  • 1/2 teaspoon onion powder
  • 1/2 teaspoon Old Bay's
  • 1/4 teaspoon cumin powder
  • 1/2 teaspoon Lawry's Seasoned Salt
  • 1/4 teaspoon black pepper
  • 1/2 teaspoon dried thyme leaves, lightly crushed
  • Olive oil
  • 2 tablespoons lard
  • Kosher salt


Mix the dry ingredients together. You should have about one tablespoon. Lightly rub into room-temperature chicken legs to cover. Lightly drizzle with olive oil. I'd say no more than 1-2 tablespoons. You are not making a marinade, you just want to wet the dried spices to activate them. If possible, allow to sit, covered, for an hour or so.


Add two tablespoons of lard to a 10-inch cast-iron skillet. When shimmering, add the legs. Be careful, they will sputter as they cook and release their juices.

Chicken legs really have four sides. Cook for about 15-20 minutes over medium-high heat just until they are golden brown.

Place in a pre-heated 375 F oven and cook for an additional 15-20 minutes, turning once or twice, until golden brown and crusty. Remove pan from oven. Remove legs from pan and place on paper towel then on a rack or plate to cool a bit. Sprinkle with Kosher salt and enjoy! 


You could easily make a pan gravy from the drippings. Or, if you're bad like me, use them to dip in chunks of crusty bread. I served with this cole slaw--the kind you buy in the grocery store already shredded and with it's own pack of dressing. Doesn't get much easier than that!